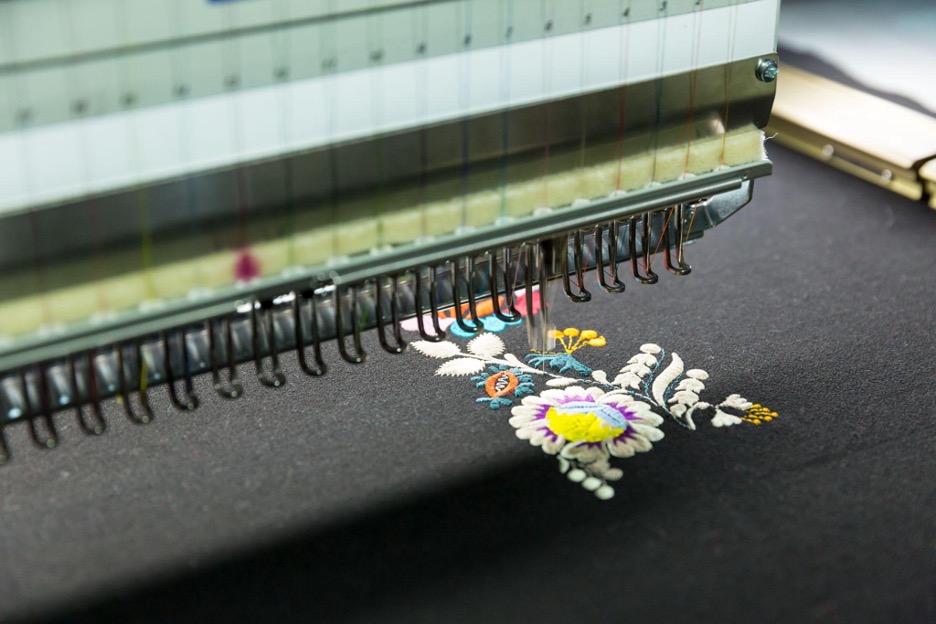
Embroideries, whether they are floral or any other designs, prettify an article of clothing and give a sense of identity to the wearer. However, in order to ensure that the embroideries look proper and neat, you would have to follow a general rule of placement in terms of where the embroidered design should be located.
To determine exactly where you should place the design, measure the width of the item, usually from one side seam to the other or, if there is a placket, from the placket to the side seam. Multiply this measurement by two. Make a small vertical line to represent this measurement. Measure the distance between the top seam/edge and the bottom seam/edge. Make a horizontal line out of this. Unless otherwise specified, the intersection of these two lines will form the centre of your embroidery design placement.
Here are some other general guidelines on embroidery placements that you can follow at home:
1. Embroidery on shirt collar
Source: ETSY
For the collar, you can position the design (usually a monogram) so that the bottom edge is 1/4 inch above the buttonhole on the collar point.
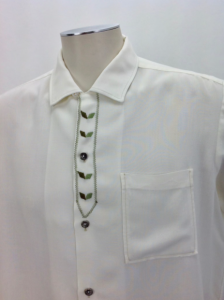
2. Embroidery on button plackets
Source: ETSY
On the button plackets, keep the design between the second and third buttonholes.
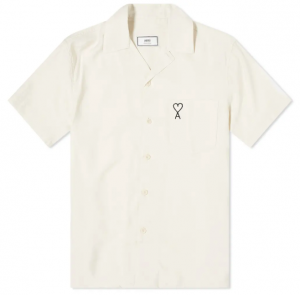
3. Embroidery on short sleeved shirts
Source: endclothing.com
On the short sleeved shirt, keep the design 1/2 inch above the hemstitching line.
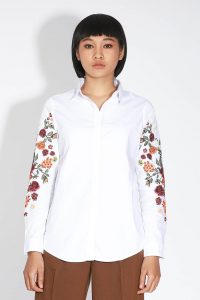
4. Embroidery on the sleeve cuffs of long sleeved shirts
Source: zandokh.net
Start by half-folding the cuff. Make a mark in the fold’s middle. Make a 1.5-inch mark from the centre to the buttonhole. This should be in the centre of your design. 1/4 inch up from the middle fold, make a mark. This is supposed to be the bottom edge.
5. Embroidery near the hem
Source: Pinterest
Draw a horizontal line 1.5 inch from the edge of the shirt’s hem. Make a 7-inch vertical line from the placket to the side seams. Insert the design there.
6. Embroidery on t-shirts
Source: ap.louisvuitton.com
If you want to embroider your design on the front of the t-shirt, position it 2 – 4 inches down from the neckline (definitely above the armhole line), in the centre of the front bodice (middle of the two side seams accurately). If you have a large design, make sure it does not fall below the tuck line. The design must be visible even when the t-shirt is tucked inside the waistband of the pants. Place the design 7 – 9 inches below the neckline when embroidering on the back of a t-shirt, sweatshirt, or hooded shirt.
If you want to put the embroidery on only one side of the t-shirt, put it on the left chest. Locate the centre of the t-shirt (or placket) and the side seam. Draw a short vertical line. Draw a small horizontal line down from the shoulder seam — 7 – 9 inches for adults and 3 – 4 inches for children. Place the design’s centre on this meeting point.
7. Embroidery placement on jackets
Source: Chef Works
For embroidery in front of the jacket, mark the middle of the placket and side seam at the same level as the second button of the jacket on the left chest.
For the back of the jacket, you can place embroidery designs anywhere between 2 and 8 inches down from the neckline/bottom edge of the collar stand. A good place to start is between the shoulder blades. You’d get there in 7 – 8 inches.
8. Embroidery on neckties
Source: seekfab.com
When embroidering on neckties, place the embroidery design about 3 inches up from the tie’s bottom tip. You can place this about 6 inches from the bottom tip for a middle placement.
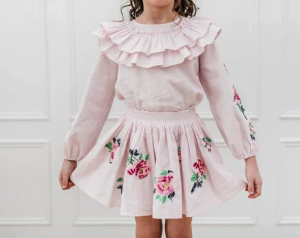
9. Embroidery on blouses, dresses and skirts
Source: Bella Kids New York
On blouses, for a centre embroidery, place the embroidery design 2- 4 inches from the blouse’s neck. If you have a V-Neck blouse and wish to embroider on only one side, place the design at the end of the V. Find the centre of the space on a level with the end of the V between the V-tip and the side seams.
Make sure that all designs are at least 1.5 inches above the hemline on dresses and skirts. Maintaining a consistent distance between embroidery motifs will help the garment to be balanced.
10. Embroidery on socks and handkerchief
Source: Make
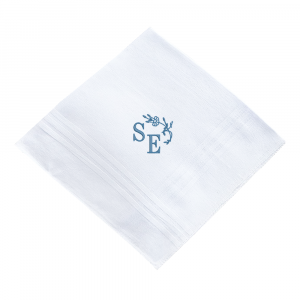
Embroidery on socks is typically done on the cuff, right side down, on the inside. The embroidery design will be visible on the outside when the cuff is folded down. For a handkerchief, the embroidery design can be placed 1.5 inches from the corner of the kerchief at a 45-degree angle.
11. Embroidery placement on bags and aprons
Source: EMB3
For bags and totes, place the embroidery design 2 – 4 inches down from the top edge, centred between the straps. For aprons, the proper embroidery placement is 4 inches down from the top edge.
Embroidery placement on household items
1. Tablecloths, placemats and napkins
Source: Zara Home
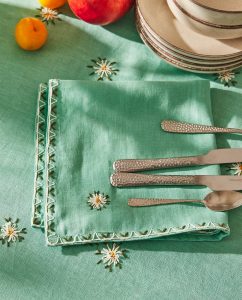
For tablecloths, embroidery is typically done on corners; about 5 inches from the corners after the hem is finished would make it visible on most types of table cloths.
For placemats, the design can be centred or placed on the corners, while the designs on napkins are always placed diagonally at a 45-degree angle on one corner — around 3 inches from the corner and placed diagonally.
2. Bedspread
Source: Made-in-china
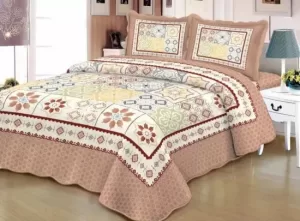
Bedspreads are embroidered in the centre. On top sheets, however, the bottom edge of the embroidery designs is placed upside down, 2 inches from the top wide hem, on the back of the sheet. When you make the bed, the top hem is folded down on top of the blanket, so the embroidery design is facing you. Fitted sheets are not usually embroidered.
3. Pillowcases and cushions
Source: Pinterest
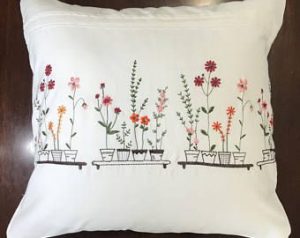
Embroidery designs are typically centred on pillowcases and cushions. The embroidery design is placed on the wide hem of the open edge that faces the opening. On pillowcases with a wide hem, they are placed in the centre of the space between the edges of the opening’s wide hem.
4. Blankets and bath towels
Source: The Atrium
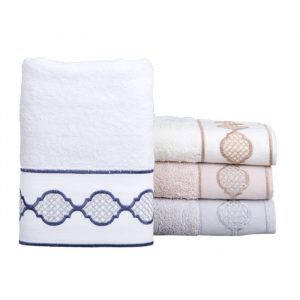
Place the embroidery design 10 inches from the blanket’s top corner. If you have a towel with a border print, position the design so that the bottom edge is 1.5 inches above the border. If the towel lacks a border, place the design 2 inches from the hem of a hand towel and 4 inches from the hem of a large bath towel. Position the design on the opposite side of the label.
Conclusion
Whether it’s to create identity for a custom-order shirt or to give a unique touch on a personal belonging,embroideries do the work well. Having your chosen embroidery design placed correctly according to the above guidelines will ensure that the clothes you wear will look more neat and well-made, not to mention giving the embroidery design a better chance of being seen.


